When cycling, safety should be a top priority. One effective way to enhance safety is by ensuring your bicycle is well-equipped with LED lights. These lights can significantly increase your visibility, especially during low-light conditions. However, the question remains: what is the best way to mount your LED light on a bicycle for optimal visibility?
Choosing the right mounting position is essential. A light positioned too low may not be seen by drivers. Conversely, a light placed too high might not effectively illuminate the path. Consider experimenting with different angles and locations. The handlebars and seat post are popular locations, but they may not always be the best for each rider. Testing these spots can lead to valuable insights.
Reflect on your riding style. Do you ride primarily at night or during the day? Adjusting your light for specific conditions can make a substantial difference. Remember, there may not be a one-size-fits-all solution. Each bicycle and rider offers unique challenges. Being adaptable and open to change can enhance your visibility on the road.
Choosing the right type of LED lights for bicycle visibility is essential for safety. A recent study by the National Highway Traffic Safety Administration found that over 40% of bicycle accidents occur during low-light conditions. This highlights the importance of selecting effective LED lights that can be easily seen by motorists.
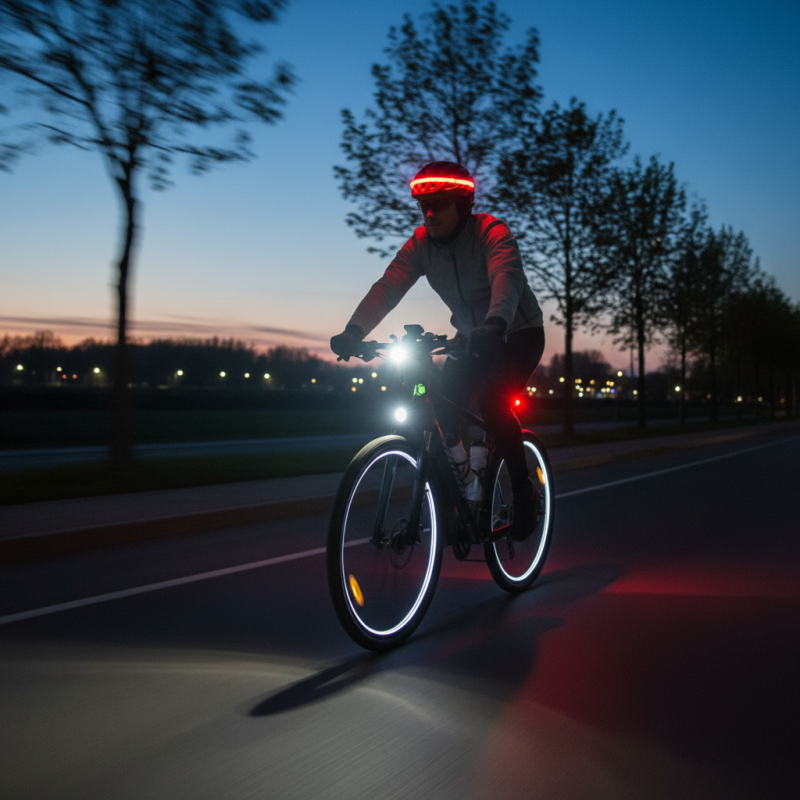
Bicycle LED lights come in various types, including front lights, rear lights, and peripheral lights. Front lights are crucial for illuminating the path ahead, while rear lights ensure others can see the cyclist. A 2021 report by the Insurance Institute for Highway Safety indicated that cyclists with rear lights are 50% less likely to be involved in a collision after dark.
When mounting lights, it's vital to consider positioning. Lights should be at eye level for maximum visibility. Some cyclists may overlook the effectiveness of flashing lights. These can attract more attention than steady lights. However, it is essential to ensure that flashing settings do not confuse other road users. The right balance of illumination and visibility can greatly enhance safety on the road.
| Type of LED Light | Brightness (Lumens) | Mounting Location | Battery Life (Hours) | Weather Resistance |
|---|---|---|---|---|
| Front Headlight | 500 | Handlebar | 10 | IPX4 |
| Rear Light | 250 | Seat Post | 20 | IPX5 |
| Wheel Lights | 100 | Spokes | 15 | IPX6 |
| Helmet Light | 200 | Helmet | 8 | IPX4 |
| Handlebar Strips | 150 | Handlebar | 12 | IPX3 |
: The right LED lights enhance visibility, especially in low-light conditions, reducing accident risks.
Front lights illuminate the path; rear lights ensure visibility to others. Peripheral lights can be beneficial too.
Mount lights at eye level. This position helps both motorists and pedestrians see you clearly.
Yes, flashing lights can attract more attention. But ensure they don’t confuse other road users.
Make sure mounts are secure but not overly tight. Regularly inspect them for wear to prevent accidents.
Use weather-resistant mounts and silicone seals to shield lights from moisture and dust.
Choose lights with a battery management system for efficient power use and longer life.
Use lower brightness settings in adequate light conditions to extend battery life.
Test your lights regularly. Reflect on your setup; make adjustments if something doesn’t feel right.
Regular checks help catch issues early. A malfunctioning light can lead to dangerous riding conditions.
When considering the question, "What is the best way to mount your LED light on a bicycle for optimal visibility?" it is essential to choose the right type of LED lights that suit your biking needs, such as brightness and battery life. Place lights strategically in essential mounting locations—such as the front handlebars, rear seat post, and side areas—to maximize visibility to other road users.
A step-by-step guide is helpful for securely mounting these lights to ensure they remain fixed during your rides. Additionally, tips for maintaining battery life and ensuring weather resistance will contribute to the longevity of your lights. Regular maintenance and adjustments are crucial for optimal use, ensuring that your LED lights continue providing the visibility you need for safe cycling.