What makes an LED optical lens crucial for high-quality bike lighting? The answer reaches beyond brightness. A lens controls beam shape, reach, uniformity, and glare. It turns raw LED output into useful road visibility.
The U.S. Department of Energy’s Solid-State Lighting research reports show that modern LED packages can exceed 200 lumens per watt in laboratory conditions. However, riders do not experience laboratory output. Lens efficiency, surface quality, and alignment decide how much light reaches the pavement. CIE 150:2017 also identifies glare as an important factor in outdoor lighting design. A poorly shaped beam can illuminate tree branches while leaving potholes dark.
“Good lighting is about seeing and being seen,” says lighting engineer James R. Benya. That principle fits bicycle lamps closely. The best lens should help a rider read road texture while remaining considerate to approaching traffic. It should create a clean foreground, a controlled distance beam, and limited upward spill.
The National Highway Traffic Safety Administration recorded 1,105 bicyclist deaths in the United States during 2022. A reliable front light cannot remove every road risk. It can improve recognition and reaction time.
Small details matter. Look for measured candela, beam diagrams, waterproof sealing, and thermal stability. Do not trust lumens alone. Our eyes can mislead us. This guide examines seven practical tips for choosing LED optical lenses for bike lights, including beam geometry, material choice, glare control, and real-world testing.
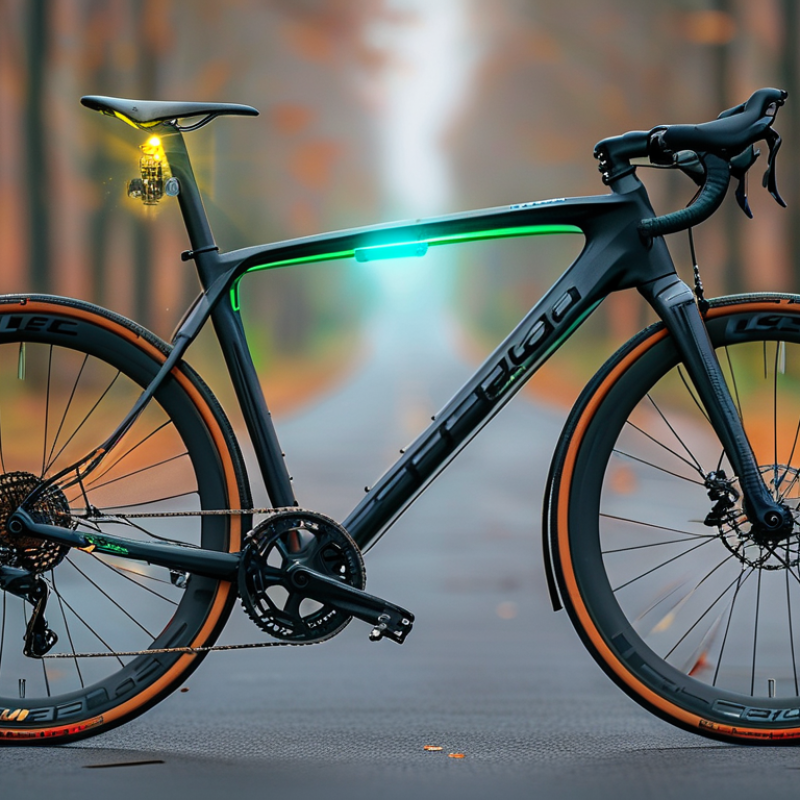
Choosing an LED optical lens starts with the road, not the flashlight housing.
A narrow 10°–20° spot projects concentrated light far ahead. It suits fast riding on unlit paths, where early obstacle detection matters. However, a tight beam can leave the handlebar edges dark. That blind margin is easy to underestimate. I have noticed this during cornering. The beam reached forward, but not sideways.
A 30°–60° flood spreads light across the near road and shoulders. It works well for urban streets, shared paths, and technical turns. You see potholes, gravel, and pedestrians sooner at the sides. The trade-off is distance. A wide pattern often appears less intense at its center. Optical efficiency, LED alignment, and lens surface quality also affect reach. Do not judge the angle alone. A claimed 20° lens may perform poorly if the LED sits off-center. Measured beam data and independent testing are more reliable than a catalog diagram.
Before buying, mark a wall about five meters away and inspect the beam edge. Look for uneven rings, sharp gaps, or distracting hot spots. On a mixed route, a medium beam can be a sensible compromise. I once preferred maximum distance, then found the narrow pattern tiring on winding roads. Your speed, route width, and mounting height may change the answer. Test after dark. Recheck the pattern after adjusting the lens or handlebar angle.
: Choose a 10°–20° spot for fast riding on dark, open paths. It projects light farther ahead. However, handlebar edges may remain dark during corners. A 30°–60° flood suits urban streets, shared paths, and winding routes. It reveals potholes, gravel, and pedestrians near the sides. A medium beam may be the safer compromise.
No. A narrow beam can look powerful but leave important side areas unlit. This becomes tiring on winding roads. Your speed, route width, and mounting height also affect performance. I once preferred maximum distance, but the narrow pattern felt less comfortable. That choice was not entirely right.
Aim the lamp at a wall about five meters away. Check the beam edge carefully. Look for uneven rings, sharp gaps, and distracting bright spots. Then adjust the lens or handlebar angle. Inspect the pattern again after dark. A workbench view can be misleading.
A practical target is at least 85% optical transmission. Request measurements from the complete optical system when possible. Clear plastic can still lose light through reflection, absorption, or poor molding. The test should include operating conditions and the measured wavelength range. Perfect claims deserve questions.
LEDs producing 100–200 lumens per watt can support efficient designs. However, LED efficiency is not the same as beam efficiency. An 85% lens transmits about 850 lumens from 1,000 input lumens. Driver, reflector, alignment, and thermal losses reduce the final output. Measure the finished lamp, not only the LED.
Check alignment, molding consistency, surface quality, and beam uniformity. Also review impact resistance, yellowing data, and temperature-cycle results. UV exposure can change lens performance over time. A claimed angle may perform poorly if the LED sits off-center. The diagram is not enough.
Choose a controlled cutoff that directs light toward the road. Aim the lamp at rider height and inspect the upper beam edge. Avoid bright spikes, scattered halos, and strong hotspots above the cutoff. Check both left and right alignment. Small errors can create surprising glare.
No. Optical safety testing should evaluate the complete lamp. Ask for test distance, exposure time, operating conditions, and risk information. Thermal changes may alter brightness and beam shape. Human vision can miss narrow intensity peaks. A camera check helps, but calibrated measurement is better.
What makes an LED optical lens crucial for high-quality bike lighting? It controls how efficiently light is collected, shaped, and directed, directly affecting visibility, battery life, and rider safety. Start by defining the intended beam: a narrow 10°–20° spot is suitable for focused long-distance illumination, while a wider 30°–60° flood provides better coverage for nearby roads and trails. When comparing lens performance, look for at least 85% light transmission and pair the lens with efficient LEDs rated around 100–200 lumens per watt.
Glare control is equally important, so evaluate cutoff patterns and ensure the design remains within IEC 62471 photobiological safety limits. For dependable outdoor use, specify operation from −20°C to 50°C and at least IPX4 protection against water splashes. Finally, validate the complete lighting system by measuring runtime, candela, total lumens, and beam distance under consistent test conditions. These checks help ensure the lens delivers balanced, durable, and practical performance.

 Geek Flashlight