Best Ways to Mount LED Lights on Bicycle for Maximum Visibility?

Time:2026-08-26 Author:Ethan
0%

When cycling, visibility is crucial for safety. The right LED lights can make a significant difference in how well you are seen on the road. However, the effectiveness of these lights largely depends on where and how you mount them. So, what is the best way to mount your LED light on a bicycle for optimal visibility?

Many cyclists overlook the importance of light placement. A poorly positioned light can limit its effectiveness. Mounting lights at the wrong height or angle can reduce their visibility to drivers and pedestrians. It is essential to test different placements to find what works best for your bike and lighting setup. Some methods may seem effective at first but can lead to glare or blind spots. Understanding your environment, such as road conditions and traffic patterns, is key to determining the best mounting strategy.

It is also important to consider various mounting options, like handlebars, seat posts, or helmets. Each location has its own advantages and disadvantages. Experimenting with different setups can help you discover the most effective configurations. After all, optimal visibility is not just about having a bright light; it's about ensuring that light is positioned for maximum effectiveness.
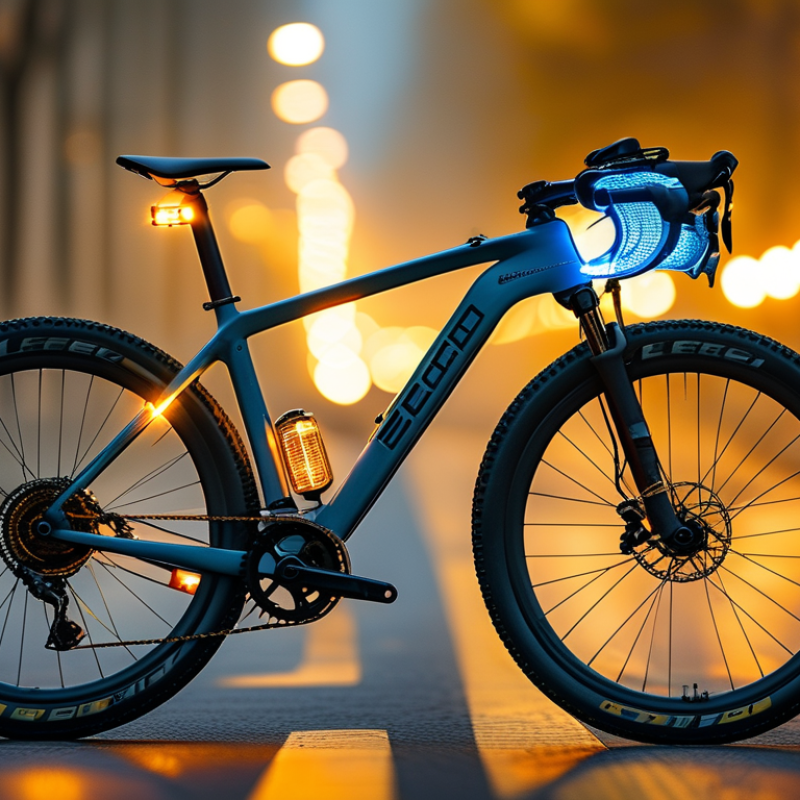
Best Ways to Mount LED Lights on Bicycle for Maximum Visibility?

Choosing the Right LED Lights for Bicycle Visibility

When selecting LED lights for your bicycle, consider brightness levels. Look for lights that provide at least 200 lumens. This level ensures visibility in urban environments. The color of the lights is equally important. White lights in the front and red lights at the back maximize your visibility to others. Opt for lights that have multiple flashing modes. These modes can catch the attention of drivers more effectively.

Placement of the LED lights matters too. Mounting a light too low may not be seen by vehicles. Position the front light at handlebar height. The rear light should be visible from a distance, placed at seat post height. Installing reflective tape alongside your lights can enhance their visibility further. Avoid overcrowding the bike frame. Too many lights can create confusion.

Ensure batteries are checked regularly. Dimming lights can compromise safety. Aim for waterproof options to withstand various weather conditions. It's essential to strike a balance between visibility and practicality. Some cyclists might struggle with light placement or selection. Testing your setup in different environments helps clarify what works best.

Best Mounting Locations for Maximum Light Exposure

When mounting LED lights on your bicycle, placement is crucial for ensuring maximum visibility. One of the best locations is the front handlebars. This allows the light to shine directly ahead, illuminating the path while making you more visible to oncoming traffic. Ensure the light is securely attached and angled slightly downward. This prevents the light from blinding other cyclists and drivers.

Another effective spot for a light is at the rear of the bike. Installing a bright red light on the back makes you noticeable to vehicles approaching from behind. Consider using a mount that allows the light to be slightly elevated. This can enhance visibility and prevent it from being obstructed by any bags or other gear.

For extra visibility, think about adding lights to your helmet or backpack. This adds an additional layer of safety, especially at intersections. Lights that flash can catch a driver’s attention quicker. Remember to check the battery life and functionality regularly. Adjusting the position and angle of your lights may also be necessary based on your riding environment.

Tips for Securely Attaching LED Lights to Your Bicycle

When mounting LED lights on bicycles, secure attachment is key for safety and visibility. Studies show that cyclists with proper lighting reduce accident risks by up to 50%. The placement and installation of these lights can make all the difference.

To begin, ensure your lights are positioned at eye-level for maximum visibility. This placement enables drivers to notice you quickly. Using rubber straps or zip ties can offer a solid grip on various bike frames, reducing any potential wobbling. Even slight movements can diminish light effectiveness and distract other road users.

Consider attaching lights to front forks or handlebars. This not only enhances visibility for incoming traffic but also adds a unique flair to your bike. Ensure to regularly check that the attachments remain tight and secure. A loose fitting can lead to loss of lights during rides. The consistency in checking may seem tedious, yet it’s essential for your safety on the road. Proper maintenance can prolong the life of your lights and delay the need for replacement.

Adjusting Light Angles for Optimal Visibility at Different Times

Adjusting the angles of LED lights on a bicycle is crucial for ensuring maximum visibility. Research indicates that cyclists with well-positioned lights are 40% less likely to be involved in accidents compared to those without. Lighting visibility can fall short if the angles are not properly set. For instance, a forward-facing light should be tilted slightly downward to illuminate the road directly ahead while not blinding oncoming traffic.

Surveys show that approximately 60% of cycling accidents happen during low-light conditions. To combat this, mount lights at a height where they can be seen by motorists and pedestrians. Proper alignment is essential. A light positioned too low may only illuminate the bike's immediate surroundings. Conversely, a high-angle light can cause glare for drivers. Aim for an angle of about 15 to 30 degrees towards the ground.

Additionally, it is beneficial to consider adjusting your lighting setup based on your environment. Riding in urban areas filled with streetlights may require brighter settings. In contrast, rural paths can benefit from wider beams to cover distance. Simple adjustments can yield significant results. Many cyclists overlook the importance of these angles, missing out on essential safety benefits.

Maintaining and Inspecting LED Light Setups for Long-Term Use

Maintaining and inspecting LED light setups is crucial for long-term use on bicycles. Regular checks can prevent malfunction and ensure maximum visibility. Start by inspecting the battery life. A dim light can often mean a battery replacement is due. Check the connections for any signs of corrosion or looseness. Tighten any loose screws to avoid light flickering during rides.

Evaluate the positioning of your lights as well. Ensure they're not obstructed by any bike components or accessories. This is a common oversight. Lights should be visible from all angles, especially from behind. Regularly clean the lenses to remove dirt and grime. A clear lens will enhance brightness, ensuring safety on dark paths.

Sometimes, users may find their lights are not as bright as they used to be. This could be due to dirt accumulation or aging components. Don't hesitate to inspect the housing for any cracks or damage. Even minor damages can affect performance. Reflection is key. After a ride, think about the effectiveness of your lights. Are they really providing enough visibility? Making small adjustments can lead to significant safety improvements.

FAQS

: What brightness level should I look for in bicycle LED lights?

: Aim for at least 200 lumens for urban visibility. This helps drivers see you better.

How should I position the front and rear lights?

Mount the front light at handlebar height and the rear light at seat post height. This improves visibility.

Are multiple flashing modes beneficial for lights?

Yes, multiple modes catch drivers' attention more effectively. Variety can enhance safety during rides.

What materials can I use to secure LED lights?

Use rubber straps or zip ties for a secure fit. Loose fittings can lead to accidents or losing lights.

How often should I inspect my LED lights?

Regular inspections are essential. Check for battery life, tight screws, and clean lenses to maintain effectiveness.

What should I do if my lights seem dim?

Check battery life and connections for corrosion. Sometimes dirt buildup can also be the cause.

Can I use additional reflective tape with LED lights?

Yes, reflective tape enhances visibility without overcrowding your bike. It's a simple way to improve safety.

How can I tell if my lights are properly positioned?

Ensure they are visible from all angles and not obstructed. Testing your setup can reveal any issues.

What maintenance tips do you recommend?

Regularly clean the lights and check for any cracks. Small maintenance tasks can prevent larger problems.

Why is it important to balance visibility and practicality?

Too many lights can cause confusion. Focus on effective placement and necessary features for better safety.

Conclusion

When considering visibility while cycling, it's essential to ask, "What is the best way to mount your LED light on a bicycle for optimal visibility?" Start by selecting the right LED lights that offer sufficient brightness and battery life tailored for your riding conditions. The most effective mounting locations typically include the front handlebars and rear seat post, ensuring that your lights are clearly visible from both directions.

Securely attaching LED lights to your bicycle involves using reliable mounts that can withstand vibrations and resist weather elements. Additionally, adjusting the angles of your lights is crucial for maximizing visibility in different lighting conditions, whether it's daytime or night. To ensure long-term effectiveness, regular maintenance and inspection of your light setups will help keep you safe and visible on the road. By following these guidelines, cyclists can enhance their visibility and riding experience.

Ethan

Ethan

Ethan is a seasoned marketing professional with a deep expertise in our company's innovative product line. With a passion for sharing knowledge and insights, he takes the lead in regularly updating our corporate blog, where he explores industry trends, product features, and effective marketing......