LED bike lights are small, but their safety role is significant. NHTSA’s Traffic Safety Facts 2022 recorded 1,105 bicyclist deaths in United States traffic crashes. CPSC injury surveillance also shows that bicycle-related incidents remain a serious public-safety concern. These figures do not prove that maintenance prevents every crash. They do show why dependable visibility deserves regular attention.
So, how can riders answer the question, “How to properly maintain your LED bike lights for long-term use?” The answer involves more than replacing batteries. Clean the lens after muddy rides. Check the mounting strap before rough roads. Inspect charging ports for grit, moisture, or looseness. Store the light away from extreme heat. Small habits matter.
Cycling safety author John Franklin wrote, “The cyclist must make every effort to be seen.” His principle still applies to modern LED equipment. A bright light cannot help much when its beam is blocked, its battery is weak, or its bracket points toward the ground.
This guide presents seven practical maintenance tips for daily riders, commuters, and weekend cyclists. It draws on manufacturer care guidance, NHTSA safety information, and CPSC injury surveillance. The routine is simple, but not perfect. Riders may forget a charge. A seal may fail unexpectedly. That is exactly why inspection should become part of every ride preparation.
Think of the light as safety equipment, not decoration. Before leaving, switch it on, test the modes, and confirm its beam reaches the road. Seven minutes of care can protect months of performance.
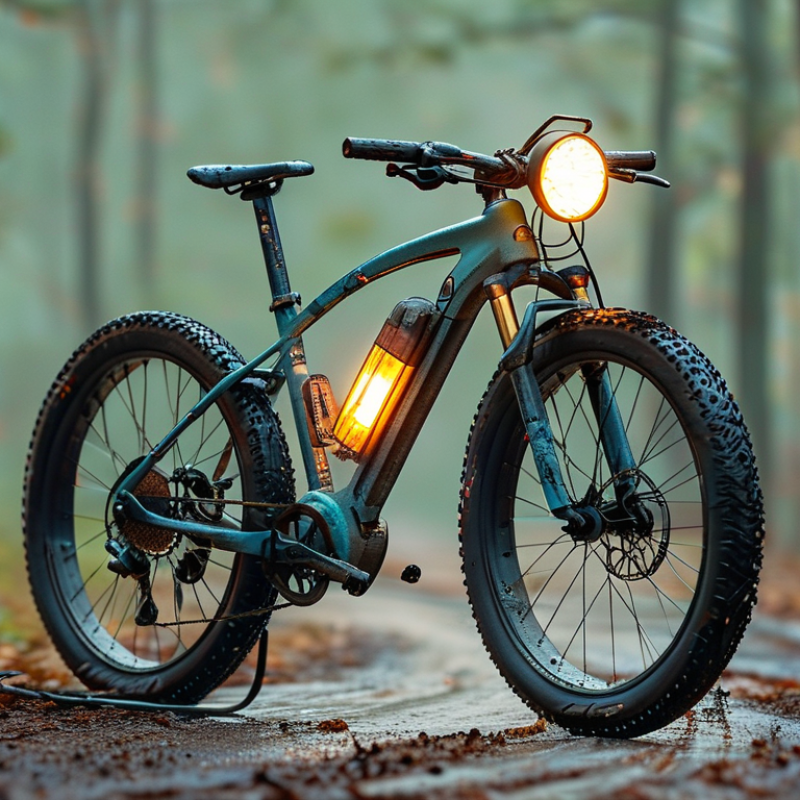
Understanding an LED bike light starts with its essential parts: the LED emitter, lens, reflector, circuit board, battery, switch, housing, and charging port. The U.S. Department of Energy’s SSL R&D report notes that modern LED packages can exceed 200 lumens per watt in laboratory conditions. Real bicycle lights perform lower because heat, optics, and battery limits reduce output. The lens shapes the beam, while the reflector controls direction. A scratched lens can create glare instead of useful road coverage.
Tip 1: Wipe the lens with a soft, damp cloth. Avoid abrasive cleaners.
Tip 2: Check the silicone seal around the charging port. IEC 60529 explains that IP ratings measure protection against dust and water, but protection can weaken after drops or seal damage.
Tip 3: Inspect the switch for grit. Small particles can cause intermittent contact.
Tip 4: Keep the battery away from extreme heat. I once left a light inside a hot car, and its runtime noticeably declined.
Tip 5: Charge with the recommended cable and stop using damaged ports.
Tip 6: Test the beam before every night ride. A loose reflector may point light toward the sky.
Tip 7: Store the light partly charged during long breaks, following the manufacturer’s battery guidance.
Do not ignore flickering. It may indicate a tired battery, poor contact, or internal moisture. My maintenance routine is not perfect; I sometimes clean the housing but forget the charging port. That small mistake deserves correction.
Key parts include the LED emitter, lens, reflector, circuit board, battery, switch, housing, and charging port. Each part affects brightness, beam direction, or reliability.
Wipe it with a soft, damp cloth. Avoid abrasive cleaners, which can scratch the surface. A scratched lens may create glare instead of useful road coverage.
The seal helps limit dust and water entry. Drops, cracks, or stretching can weaken protection. Never force a wet port closed.
Flickering may indicate a tired battery, poor contact, loose wiring, or internal moisture. Stop and inspect it before riding at night. Do not ignore flickering.
Extreme heat can reduce runtime and shorten battery life. For example, a hot car interior may damage performance. Store the light in a cool, dry drawer.
Remove disposable batteries before storage to prevent leakage. For built-in batteries, store around half capacity and check them every two months. Keep the lens away from tools.
Test the beam outdoors, inspect the mount, and confirm every brightness mode works. A loose reflector may point light toward the sky. Test it outside.
Replacement is sensible when the casing cracks, the battery loses practical runtime, or the beam becomes unreliable. Unusual heat also deserves attention. I sometimes wait too long. That habit needs correction.
How to properly maintain your LED bike lights for long-term use? Start by understanding the main components, including the lens, housing, mounting hardware, battery, charging system, electrical contacts, seals, and cables. Clean the lens and housing gently with a soft, damp cloth, and keep mounting parts free from dirt that could weaken stability. Avoid harsh chemicals and excessive water, especially around charging ports and electrical connections.
Check the light output regularly for dimming, flickering, or uneven brightness, as these may indicate a battery, contact, or internal issue. Keep batteries charged according to the light’s instructions, inspect contacts for corrosion, and replace damaged cables, loose mounts, or worn seals promptly. Store the light in a cool, dry place away from extreme temperatures and remove the battery when appropriate for extended storage. When performance continues to decline or components become unreliable, replace the light responsibly to maintain dependable visibility and safe riding.

 Geek Flashlight